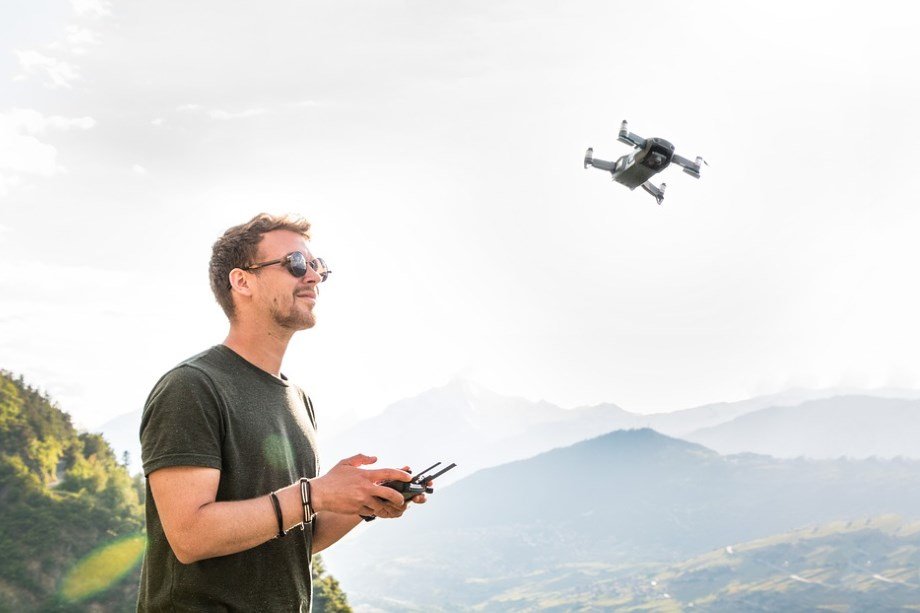
What goes out of reach of the world’s longest selfie stick and low-altitude helicopters? The drones are transforming the market with the latest technology and features that let the pilots capture what used to be an impossible feat. That’s especially very exciting and liberating in the world where around 350 million images are uploaded to Facebook every day. Here are 10 important tips that’ll help your photography capture the audience’s attention.
Fly Smart

If you’re just getting started in the field of aerial photography. The single most important tip you can do is learn how to fly your drone safe and effective. With plenty of practice, the mechanics of aerial systems can quite become an afterthought. Thus, you can focus more on what’s important: capturing beautiful aerial shots.
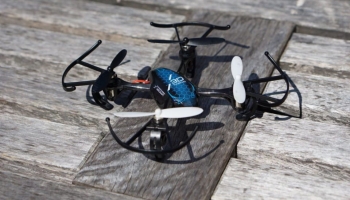
I recommend you to start with a training drone. They usually are inexpensive and can be bought for under $50 that you can learn how to fly. It’s a great way to do before you invest in the expensive quadcopter. Even if you own an advanced camera drone such as Mavic 2 Pro. These companies let their customers hone their piloting skills on virtual flight simulators.
Flying your drone safely and legally is another important variable in the flying smart equation. Do research on the drone regulations and with due diligence to comply with the local and federal laws. You can stay updated with the drone laws by visiting here. Before you fly, it’s a good idea to perform a pre-flight inspection to ensure your drone is running properly.
Be Prepared
One of the many important tips that all drone photographers should do before they fly their crafts is to be prepared. When I was running my aerial drone business with Mavic Pro in Arkansas. I researched on hotspots around the state. I also look at other professional aerial photographers for inspiration (I have a good drone photography feed that you can check out).
Then you should make a list of locations and points of interest. Take advantage of tools such as Google Earth to research the feasibility and plan your flight sessions. If you plan to explore the location, think about how your image might look and how the light will interact with your subject at different times during the day.
Survey the Areas
Now that you have reached, you must get the layout of the landscape. Not to mention that it is very easy to develop “tunnel vision” as a drone operator. Because you’ll get fixated with a certain subject or composition that you ignore the beauty that exists in the area.
What you should do is encircle your object and note where the light, composition, and background seem to come together at the best quality. Revisit those locations and tinker with the distance and height to enhance your image frame. Repeat until you achieve the perfect balance.
Take Advantage of Special Moments

Being able to fly during the golden and blue hour is the most awe and breathtaking experience. The “Golden Hour” refers to soft yellow-tinted light that fills the skies as the sun begins and ends its journey across the endless horizon. The “Blue Hour” is another special stage during the day where vibrant hues take over the sky before sunrise and sunset.
As a drone photographer, light is an important factor in photography. These special times offer added effects and visual opportunities for the photographers both on the ground and in the air. The “Golden Hour” and “Blue Hour” is worth your time when you spend capturing these special moments.
Image Quality
Another key factor when it comes to taking pictures and videos with a camera drone is the quality of the image. Depending on what you want to use the camera drone for, you’ll want to have a good one that can capture beautiful shots. The latest Mavic 2 Pro camera is equipped with enhanced low-light ambient that does a very good job of capturing pictures during night time.
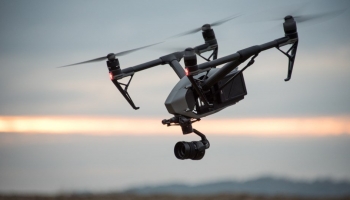
Generally, you’ll want to have a camera drone mounted with 20MP gimbal camera systems or greater. As they reduce the noises, enhances the quality of images, and produce much more vibrant colors that create an everlasting impression. Phantom 4 Pro is a very popular choice among drone photographers. But, for professional and filmmakers, they’ll find Inspire 2 mounted with an all-powerful Zenmuse X7 Camera the ultimate aerial photography tool.
Compose With Intention
One of the biggest tips that all drone operators should consider when flying a fancy quadcopter like the Mavic Air is composed with intention. Lines, patterns, and geometry all are the most potent composition elements in this brand new flying medium. The camera drones have incredible aerial capabilities to direct the human eye from the foreground to the background of your footage.
Patterns are one of the most important tips for drone operators to know. In the world of drone photography, the height lets pilots discover new visual rhythms that often go unseen from the ground. Lastly, geometry is the pillar of thoughtful framing because the shapes interact with each other. This keeps our eyes moving throughout the frame.
Create a Unique Perspective
While it’s obvious the main composition advantage that the drone brings to the table is perspective. With its flying capabilities, you can seek out a different angle that brings photography to life. Remember, acquiring the best pictures usually isn’t taken at maximum altitude.
Typically, the drone photography is taken just a few feet above your head. Between 10 to 100 feet above the ground level, you can create clean and beautiful imagery with foregrounds and backgrounds that guide your viewer. Thus, enriching their experience with your drone photography work.
Always Bring Batteries
Wherever you’re going, be sure to grab additional batteries to extend your flight session. With just one battery, you can explore your surrounding and envision a shortlist of notable hotspots. Sometimes you’ll venture to distant areas that are more promising and even discover the unexpected.
Then you can devote your second and third batteries to executing the perfect aerial shots. If you do plan to capture moving imagery, I recommend you to get at least a fourth or fifth battery that’ll let you focus on producing captivating videos. This technology is hovering on the horizon and you can join the front line with the right knowledge.
- Inspire 2 Battery $159 (Check Price)
- Mavic 2 Battery $139 (Check Price)
- Phantom 4 Pro Battery $168 (Check Price)
- Mavic Air Battery $77 (Check Price)
- Mavic Pro Battery $88 (Check Price)
- Spark Battery $47 (Check Price)
Be Aware of Everchanging Weather
Weather always changes all the time. Especially if you’re flying in skyscrapers area and in regions where the weather has the tendency to change swiftly. You need to be aware and prepared to handle situations if the weather doesn’t go in your favor. It’s especially important when you want to capture aerial photography of certain buildings or places. You need to be able to have a drone that can handle the weather conditions with ease.
Which is why some drones such as Inspire 2 (See Price) comes with propellers specifically designed for high altitude flight missions. The high altitude propellers are uniquely designed to cut through thin air as you go higher. They can be incredibly useful if you want to capture beautiful aerial shots of the clouds. But that’s something I strongly advise you to not do. After all, you need to be aware of the weather conditions as well as your surroundings.
Use Camera Filters
Finally, another important tip that all drone photographers should know. If you’re planning to fly any of these professional drones for money. You’ll want to take pictures and videos of its best quality. Which means you need to buy a set of camera filters for your drone. They’re effective at reducing the sun’s glare as well as blocking out whites to make the picture a bit darker and colorful. It helps make the pictures and videos look more cinematic and appealing that will sell out fast. Below are the links to a set of camera filters for each drone:
- Inspire 2 Camera Filters Set ($199.99 | Check Price)
- Mavic 2 Camera Filters Set ($69.99 | Check Price)
- Phantom 4 Camera Filters Set ($99.99 | Check Price)
- Mavic Pro Camera Filters Set ($79.99 | Check Price)
- Mavic Air Camera Filters Set ($149.99 | Check Price)
- Spark Camera Filters Set ($79.99 | Check Price)
Buy Popular Drone for Photography
Take advantage of these 10 important tips for drone photography today by shopping for these top camera drones for beginners. These DJI camera drones come with their own advantages that play in a certain role. Drone photographers who are interested to start making high-quality images, I recommend either Mavic 2 Pro or Phantom 4 Pro due to superior camera quality. Not only are they great for producing stunning aerial images, but they’re also incredibly easy to pilot and very beginner-friendly.
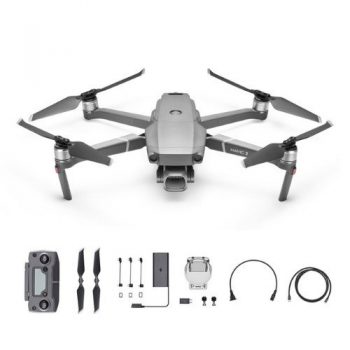
Mavic 2 Pro / Zoom
At Glance:
- DJI’s flagship consumer drone built and design for professionals and enthusiasts.
- Mavic 2 Pro uses 20MP Hasselblad Camera with 1″ CMOS Sensor.
- Mavic 2 Zoom is equipped with a 12 MP 1/2,3″ CMOS Sensors that zoom up to 4 times.
- Two drones with a different lens to pick from Mavic 2 Pro and Mavic 2 Zoom
- Upgraded Omnidirectional Obstacle Sensors
Specifications:
- 31 Flight Minutes
- 4.9 miles (8km) Control Range
- 45 MPH Flying Speed
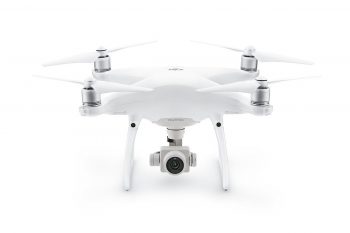
Phantom 4 Pro
At Glance:
- Most popular camera drones among beginners.
- Phantom Flagship for consumer drone and favorite’s choice for Professionals.
- Phantom 4 Pro uses a 20MP Camera with 1″ CMOS Sensor mounted on a 3-Axis Gimbal
- Obstacle Avoidance Detection Systems
Specifications:
- 30 Flight Minutes
- 4 miles (7km) Control Range
- 44.7 MPH Flying Speed
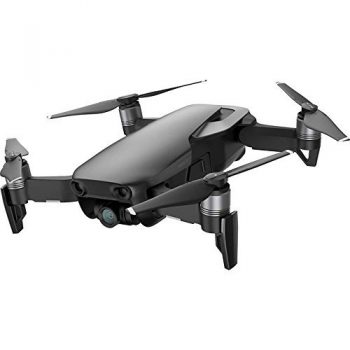
Mavic Air
At Glance:
- Ultraportable, compact, and lightweight.
- Only 213mm in diagonal size, making it the smallest foldable smart camera drone.
- Mavic Air uses a 12MP camera with a 1/2.3″ CMOS Sensor mounted on a 3-axis gimbal.
- Obstacle Avoidance Detection Systems in front, rear, and bottom.
Specifications:
- 21 Flight Minutes
- 2.5 miles (4km) Control Range
- 42 MPH Flying Speed
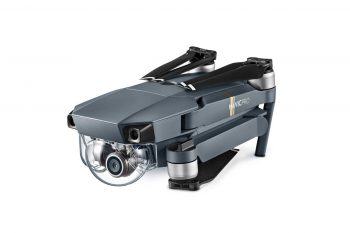
Mavic Pro
At Glance:
- Portable and popular among beginners and travelers.
- 335mm in diagonal size and packed with impressive wind resistance.
- Mavic Pro uses a 12MP camera with 1/2,3″ CMOS Sensor mounted on a 3-axis gimbal.
- Uses Obstacle Avoidance Detection Systems in the front and bottom.
Specifications:
- 27 Flight Minutes
- 4 miles (7km) Control Range
- 40 MPH Flying Speed
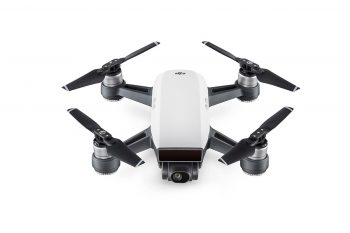
Spark
At Glance:
- Smallest DJI camera drone available.
- DJI Spark uses a 12MP camera with a 1/2.3″ CMOS sensor mounted on a 2-axis gimbal.
- Compact and lightweight.
- Perfect for beginners and kids who wants to fly a simple drone
Specifications:
- 16 Flight Minutes
- 1.2 miles (2km) Control Range
- 31 MPH Flying Speed


